

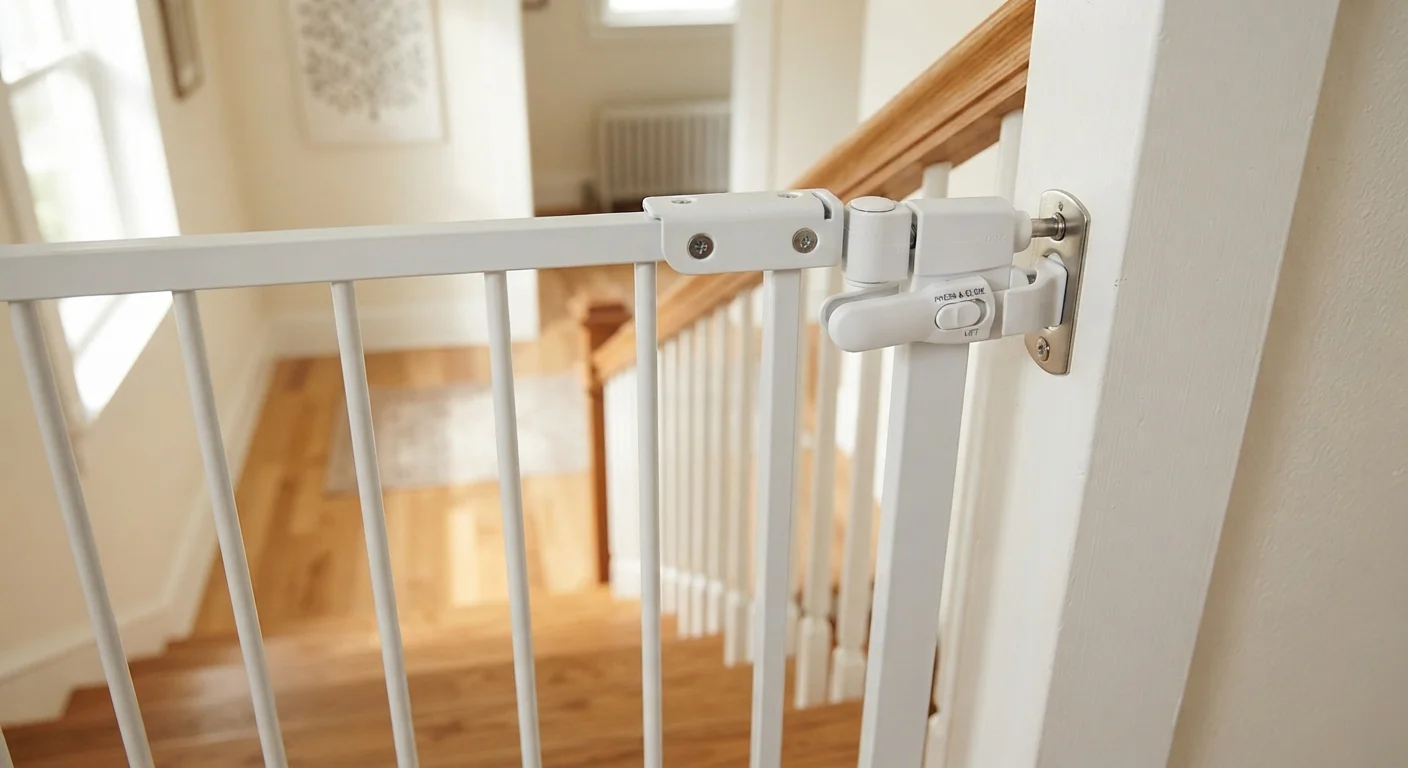
Why Stair Gates Fail More Often Than Parents Expect
Stair gates rank among the most trusted pieces of child-safety hardware in American homes - and yet falls on stairs remain one of the leading causes of injury for children under five, according to the American Academy of Pediatrics. Many of those incidents happen despite a gate being present. The gate was there; it just wasn't installed correctly.
The core problem is that stair gates look simple. Parents assume that anything that snaps into a doorway and feels solid will do the job. But "feels solid" and "is engineered to hold against a running toddler at the top of a flight of stairs" are two very different things. Understanding the most common installation mistakes - and why they happen - is the first step toward genuine protection.
It's also worth noting that common myths about child safety hardware extend beyond stair gates. Families often carry the same misconceptions into every room of the house.
Using a pressure-mounted gate at the top of the stairs.
Why it happens: Pressure-mounted gates are easier to install and leave no holes in walls, so they're appealing to renters and first-time parents. Many packaging images show them in doorways without clearly distinguishing top-of-stair use.
Mounting into drywall without locating the studs first.
Why it happens: Parents are eager to finish the install quickly, and drywall anchors can hold light loads - so they assume the gate will be fine. Drywall alone cannot withstand the lateral force a falling toddler generates.
Installing a gate that is the wrong width for the opening.
Why it happens: Parents measure the opening once and buy accordingly, but many gates come with extension panels that are needed to fill the gap - and extensions are sometimes left unused because the gate "seems snug enough."
Skipping the final tension check and latch test after installation.
Why it happens: Once the gate is up and the child is nearby, parents feel the job is done. The temptation to skip a systematic test is understandable but risky.
Not re-tightening hardware as the gate ages.
Why it happens: People treat safety hardware like a smoke detector - install it and forget it. Vibration from daily use gradually works screws loose, particularly on pressure-mounted units.
Building a Safer Stairway: Practical Steps After Installation
Once your gate is mounted correctly, a few ongoing habits will keep it reliable as your child grows and becomes stronger and more determined.
Never Prop a Gate Open as a Shortcut
It's tempting to wedge a gate open when you're moving between floors frequently. Even a brief open period is enough for a curious toddler to reach the stairs. Get in the habit of fully latching the gate every single time - even for a trip that will take "just a second."
- Shake test every two to four weeks. Grip the gate at the top and push firmly in both directions. Any movement beyond a slight flex signals that hardware needs tightening or re-anchoring.
- Inspect anchor points after any hard impact. If a toddler charges the gate or an adult trips into it, re-check every fastener the same day.
- Replace worn pressure pads. The rubber or foam pads on pressure-mounted gates (used safely only at the bottom of stairs) compress over time and reduce holding force.
- Keep the latch mechanism clean. Dust and food debris can cause one-handed latches to stick open or fail to click shut.
- Retire the gate on schedule. Most manufacturers list a maximum weight or age. Toddlers who can nearly unlatch the gate themselves are close to the point where a gate offers limited additional protection.
Top-of-Stair Gates Must Be Wall-Mounted
This is the single most important rule in stair gate safety. No pressure-mounted gate - regardless of brand, quality, or price - is engineered to safely stop a child at the top of a staircase. A pressure-mounted gate can be pushed out of position under impact, sending both the gate and the child down the stairs. Wall-mounted hardware is the only acceptable option for this location.
This article provides general home-safety information and is not a substitute for guidance from a certified child-safety professional or the specific installation instructions supplied with your gate. Always follow the manufacturer's directions and consult a qualified installer if you are uncertain about your wall type or mounting surface.
The content on this site is for informational purposes only and is not a substitute for professional advice. Always consult a qualified professional for guidance specific to your situation.