

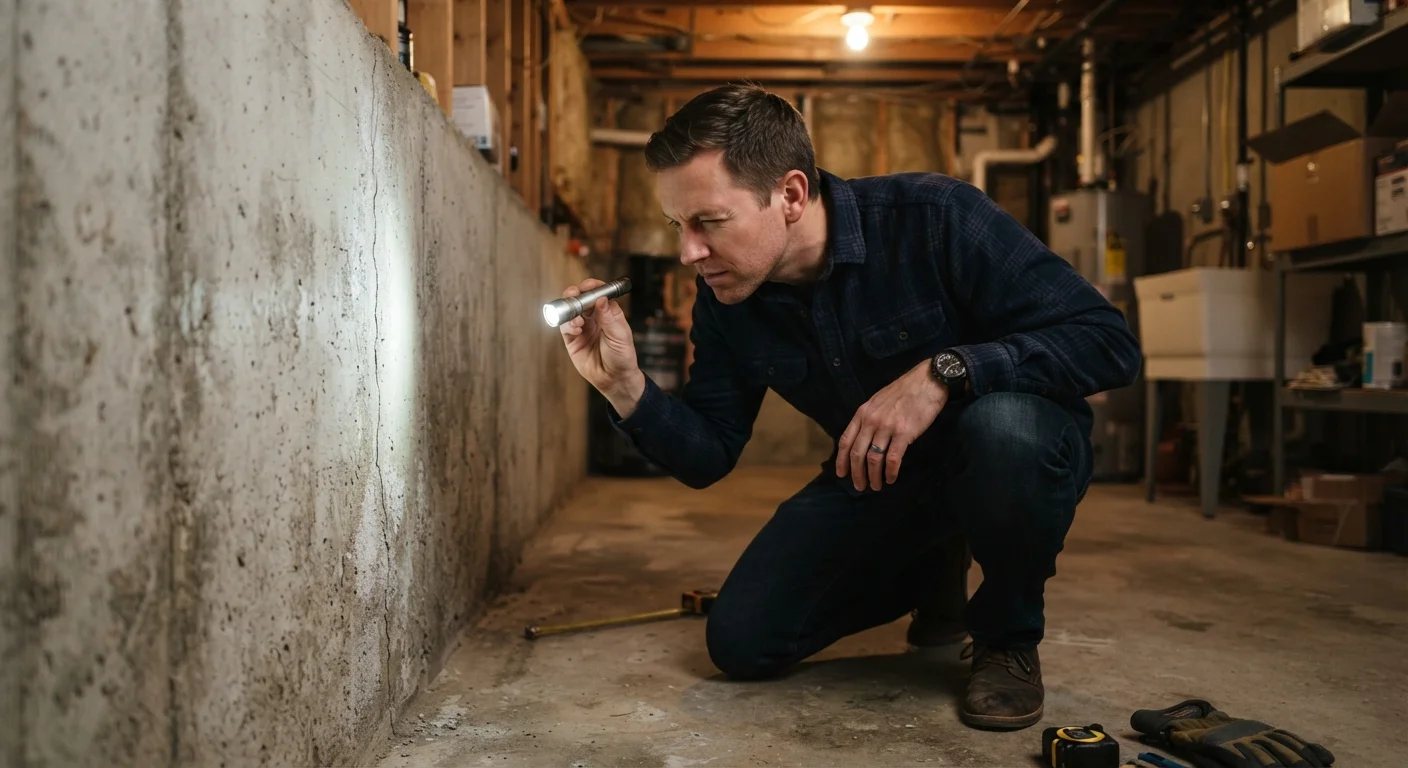
Why Professional Inspectors See What Homeowners Miss
A licensed home inspector doesn't have special vision — they have a trained, systematic method. They work from the outside in, from the top down, and from the visible to the hidden. Most homeowners walk through their homes on autopilot, tuning out the familiar. Inspectors do the opposite: they slow down, crouch down, and look at things from unfamiliar angles.
The good news is that the same framework is learnable. Understanding what inspectors prioritize — and why — turns a routine walk-through of your own home into a genuinely useful maintenance audit. For broader context on what a formal inspection does and doesn't cover, see what a home inspection actually covers.
What you will need
What You'll Need Before You Start
Gather your tools and set aside enough uninterrupted time to move through the home methodically. Rushing defeats the purpose. Plan to inspect one system at a time rather than drifting from room to room based on what catches your eye.
Bright flashlight or headlamp
Illuminates dark corners in attics, crawl spaces, and under sinks where problems commonly hide.
Moisture meter
Detects elevated moisture levels inside walls, floors, and ceilings before visible damage appears.
Binoculars
Allows safe roof-surface assessment from the ground without climbing on the roof.
Notepad or phone for photos
Documents findings with dated images so you can track whether conditions change over time.
Flathead screwdriver
Used to probe wood around windows, door frames, and decks for soft spots indicating rot or insect damage.
Level
Checks whether floors, door frames, and window sills are plumb — deviations can signal foundation movement.
How to Work Through Your Home Systematically
Inspectors typically begin outside and work inward — assessing the roof, grading, and exterior before ever stepping through the front door. Once inside, they move top to bottom: attic, then living spaces, then basement or crawl space. Follow the same sequence to avoid missing a zone entirely.
Assess the Exterior: Grading, Drainage, and Foundation
Walk the full perimeter of your home. The ground should slope away from the foundation — a minimum of about six inches of drop over the first ten feet is a widely cited guideline. Soil that slopes toward the house funnels rainwater against the foundation, which is one of the leading causes of basement moisture problems. For a deeper look at how exterior drainage systems work together, see why water management starts outside.
Inspect the foundation wall itself for cracks. Horizontal cracks in block or brick foundations are a more serious structural concern than vertical or stair-step cracks, which are often caused by settling. Note any efflorescence — white mineral deposits on concrete — as it indicates water has been moving through the wall.
Inspect the Roof and Gutters from the Ground
Use binoculars from street level to scan the roof surface. Look for missing, curled, or buckled shingles; dark streaking (often algae); and sagging areas that suggest compromised decking beneath. Pay particular attention to flashings — the metal strips sealing joints around chimneys, skylights, and valleys — as these are the most common entry points for water.
Check gutters for visible sagging, separation from the fascia board, or rust staining on siding below the gutter line. Downspouts should extend water at least four feet from the foundation. Blocked or improperly terminated gutters are a significant and easily overlooked source of foundation moisture. Evidence-based roof maintenance practices can help you extend the life of what you find up there.
Check the Attic for Ventilation, Insulation, and Moisture
The attic is one of the most revealing spaces in any home and one of the most overlooked. In a properly functioning attic, you should see consistent insulation coverage across the floor, clear soffit and ridge vents (not blocked by insulation), and no daylight penetrating the roof deck except through designated vents.
Dark staining on the underside of the roof sheathing is a sign of past or ongoing moisture infiltration — often caused by inadequate ventilation or a small roof leak. Press your hand gently against suspect areas; soft or spongy sheathing indicates rot and should be evaluated by a contractor promptly.
Evaluate Plumbing Visible at Fixtures and Under Sinks
Open every cabinet under a sink and look at the supply lines and drain connections. Mineral buildup around fittings, soft or discolored cabinet floors, and musty odors are all indicators of slow leaks that may have been ongoing for months. Run the water and watch for drips under pressure.
Flush every toilet and observe: the tank should refill and stop within roughly 60–90 seconds; any sound of water running after filling suggests a faulty flapper. Check water pressure at multiple fixtures — a sudden pressure drop throughout the house can signal a partially closed main shutoff or a supply line issue. Routine plumbing maintenance tasks go into further detail on shut-off valve checks and water heater care.
Test Safety Devices Hands-On
Inspectors physically test every smoke alarm, carbon monoxide detector, and GFCI outlet — they don't just note their presence. Press the test button on each smoke and CO detector and confirm an audible alarm sounds. Detectors older than ten years (smoke) or seven years (CO) should be replaced regardless of whether they pass the test.
For GFCI outlets — required in bathrooms, kitchens, garages, and outdoor locations — press the "Test" button and confirm the outlet loses power, then press "Reset" to restore it. A GFCI that doesn't trip or won't reset is non-functional and should be replaced by a licensed electrician. For a full testing routine, see how to test safety devices you rarely think about.
Examine Interior Walls, Ceilings, and Floors for Water Evidence
Water stains on ceilings and walls are among the most diagnostic clues available to a non-professional. A stain with a clearly defined brown ring often indicates a past leak that has dried; an active wet spot or soft drywall indicates ongoing intrusion. Press gently on any stained area — if the surface flexes or crumbles, the drywall has lost structural integrity and water damage is significant.
Walk every floor slowly, feeling for soft spots, bounce, or squeaking localized to one area rather than general house movement. A spongy patch in a bathroom or kitchen floor often indicates a long-term subfloor moisture problem from a nearby fixture. Doors and windows that stick, swing open on their own, or won't latch squarely can indicate foundation movement worth monitoring. If you're assessing a home you're considering purchasing, things first-time buyers often overlook covers these and other details worth scrutinizing during a showing.
Build a Simple Home Inspection Log
Keep a dedicated notebook or digital folder with dated photos and notes from each self-inspection. Over time, this record tells you whether a crack is stable, whether a stain is growing, and which systems are approaching the end of their typical service life. It also provides useful context if you ever schedule a professional inspection or prepare to sell.
What to Do With What You Find
Not every issue you identify requires an immediate call to a contractor. Prioritize findings by risk category: anything involving active water intrusion, compromised structural elements, or failed safety devices warrants prompt professional attention. Cosmetic issues and minor wear can be scheduled into a regular maintenance calendar.
Document everything you observe with dated photographs. This record is valuable whether you're planning repairs, preparing for a formal inspection, or simply tracking whether a condition is stable or worsening over time. If you're buying a home and want to apply this thinking before the inspector arrives, the due diligence checklist offers a useful companion framework.
Know the Limits of a Self-Inspection
A homeowner walk-through is a maintenance awareness tool — not a substitute for a licensed home inspector's report. Electrical panels, gas lines, structural engineering concerns, and hidden mold require qualified professionals with specialized tools and training. If your self-inspection raises serious questions, schedule a professional evaluation before attempting any repair work.
This article is for general informational and educational purposes only. Always consult a licensed home inspector or qualified contractor before undertaking significant repairs or making decisions based on your own observations.
The content on this site is for informational purposes only and is not a substitute for professional advice. Always consult a qualified professional for guidance specific to your situation.