

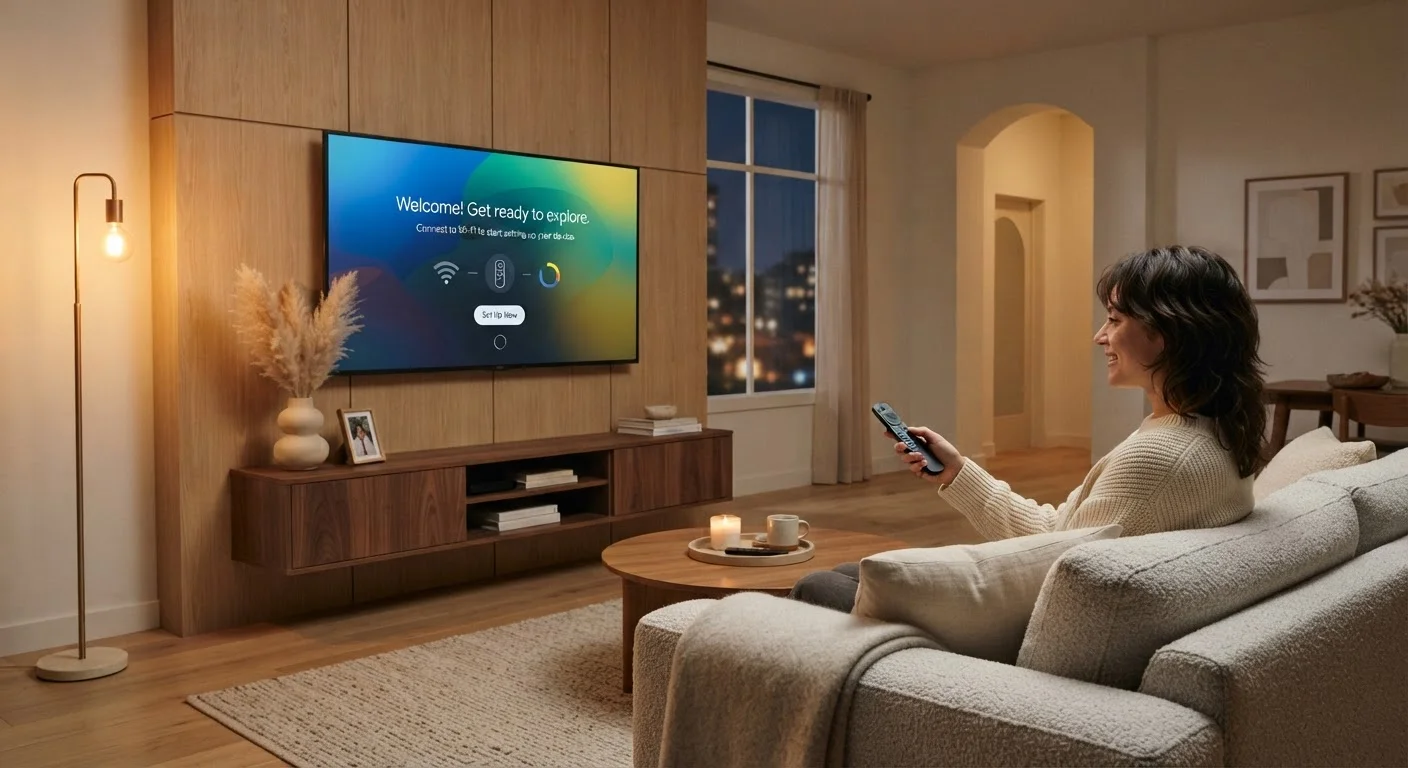
What Makes a Smart TV Different
A smart TV is essentially a television with a built-in computer running an operating system — platforms like Roku TV, Google TV, Amazon Fire TV, Samsung Tizen, or LG webOS are the most common. That operating system is what lets the TV connect to the internet, run apps, and stream content without any additional hardware plugged in.
If you're weighing whether a smart TV is the right fit compared to adding a streaming stick to a standard TV, see our breakdown of smart TVs, streaming sticks, and set-top boxes for a clear comparison of how each approach works.
The setup process covered below applies broadly across most smart TV platforms, though menu names and exact navigation paths will vary by manufacturer. When in doubt, the TV's built-in help section or the manufacturer's support site will show you the exact location of any setting.
Wi-Fi network name and password
Required to connect the TV to your home internet during initial setup.
Streaming service login credentials
Email address and password for each service (e.g., Netflix, Hulu) you plan to use.
Ethernet cable
Provides a wired internet connection as an alternative to Wi-Fi for added stability.
HDMI cable
Needed if you are connecting external devices such as a game console or soundbar.
Before You Start: What to Have Ready
A smooth setup depends on having a few things on hand before you power the TV on for the first time. The most important is your Wi-Fi password — setup wizards move quickly and it helps to have it written down or pulled up on your phone rather than hunting for it mid-setup.
What you will need
If this TV is part of a larger home technology project — perhaps you're moving into a new place and setting up multiple devices at once — the home tech setup checklist walks through the broader picture, from router placement to device connections.
Step-by-Step Setup
Update Before You Watch Anything
Smart TVs ship with the firmware version that was current when they left the factory, which may be months out of date by the time you unbox yours. Running the system update first closes security vulnerabilities and prevents compatibility problems with streaming apps. Skipping this step is one of the most common reasons a new TV behaves unexpectedly right out of the box.
Power on and select your language and region
Press the power button and wait for the setup wizard to launch — this usually takes 20–30 seconds on first boot. Select your preferred language, then choose your country or region. Getting the region right matters: it determines which apps are available in your TV's built-in store and how broadcast channels are scanned.
Connect to your Wi-Fi network
When the network screen appears, select Wi-Fi (or Wireless) from the connection options. Your TV will scan for nearby networks. Find your home network name in the list, select it, and enter your password using the on-screen keyboard. A confirmation message or signal strength indicator will appear once the connection is successful.
Install the latest software update
Once connected to the internet, the TV will typically prompt you to check for updates. Accept this prompt. If no prompt appears, navigate to Settings > Support > Software Update (the exact path varies by manufacturer) and run a manual check. Allow the update to download and install fully — the TV may restart once or twice. Do not unplug the TV during this process.
Sign into your streaming apps
From the TV's home screen, open each streaming app individually. Most smart TV platforms pre-install common apps like Netflix and Amazon Prime Video; others you may need to download from the built-in app store. Inside each app, select Sign In and enter your credentials. Many services now offer an activation code method — you visit a URL on your phone or computer and enter a short code, which is much faster than typing a full email and password with a remote.
Adjust your picture settings
Go to Settings > Picture and change the picture mode. Look for options labeled Movie, Cinema, Filmmaker Mode, or Calibrated — any of these are designed for normal room lighting and produce accurate colors. From there, you can fine-tune brightness to suit your room: brighter for a sunlit space, lower for a dark room at night. Leave advanced settings like sharpness and noise reduction at their defaults until you feel comfortable exploring further.
Configure audio and accessibility options
Navigate to Settings > Sound and select a sound mode that suits your space — Standard or Movie typically works well. If you've connected an external soundbar or AV receiver via HDMI ARC, enable that output here. Also visit the Accessibility settings to enable captions, adjust text size, or turn on audio description if needed. These settings make a real difference in day-to-day comfort and are easy to overlook during initial setup.
Use a Wired Connection When Possible
If your router is near your TV, connecting via an Ethernet cable instead of Wi-Fi will give you a more stable, faster connection — especially useful for 4K streaming. Most smart TVs include an Ethernet port on the back panel alongside the HDMI inputs. This is especially worth doing if your TV is in the same room as your router or a network switch.
After Setup: Keeping Your TV Running Well
Once you're up and running, a few habits will keep the experience smooth over time. Enable automatic software updates if your TV offers that option — it ensures security patches and app compatibility fixes are applied without you having to remember. Periodically reviewing which apps are installed and removing ones you no longer use also keeps the interface from becoming cluttered.
Watch Out for 'Vivid' or 'Dynamic' Picture Modes
Factory picture modes are tuned to look eye-catching on a bright showroom floor, not in a typical home. Leaving the TV in Vivid or Dynamic mode can cause colors to appear oversaturated and skin tones to look unnatural. Switching to 'Movie,' 'Cinema,' or 'Calibrated' mode is almost always the better starting point for everyday viewing.
For a broader look at what to prioritize in the days right after unboxing any new device, our guide on keeping a new gadget running well from day one covers the habits that make the biggest difference long-term. And if setting up your smart TV is part of a wider effort to build out your connected home, getting started with smart home devices is a useful next read.
The content on this site is for informational purposes only and is not a substitute for professional advice. Always consult a qualified professional for guidance specific to your situation.